October 04, 2026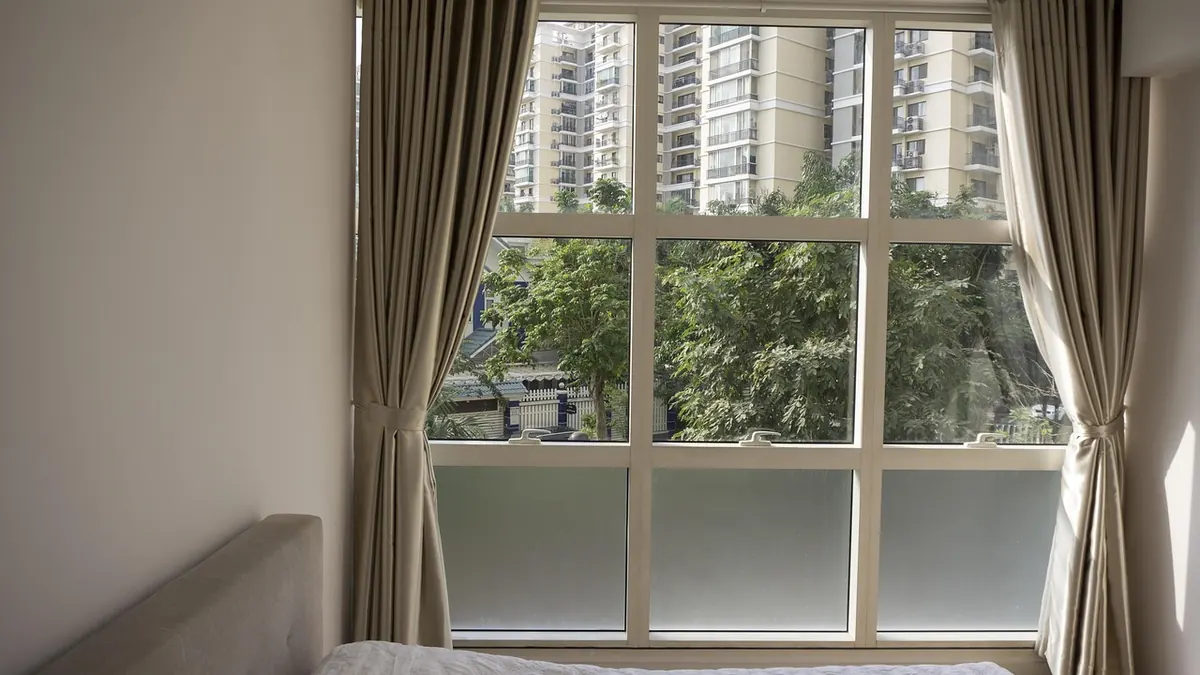
A mews house is often the leftover of a grander street: a stable, coach house or workshop squeezed onto a plot barely wider than the carriage that once parked in it. Internal widths of three to four and a half metres are common, and that single number shapes everything — how far daylight travels, how much you can store, which sofa will fit without a fight. The compensation is that a narrow plan is a forgiving one. Decisions show quickly, and the right ones show immediately.
Let the Light Travel Front to Back
Most mews houses have windows at the front and rear only, with party walls down both long sides. Daylight therefore has to move the length of the plan or it never reaches the middle. Everything else in the scheme should serve that journey.
Start at the back. Make the rear elevation as glassy as you reasonably can — full-height sliding or bifold doors, or a fixed glazed panel beside a single door if the opening is restricted. Then look at the middle of the plan, which is always the darkest part. A rooflight over the back third of the ground floor, or a lantern over the stairwell, does more for a mews interior than any amount of pale paint. Internal glazing helps too: a fixed panel between hall and living room, or a glazed door where a solid one used to be, borrows light from the room that has it.
Layer the electric light
A single pendant in the centre of a narrow room lights the middle and leaves both long walls in shadow, which is exactly the effect that makes a room read as a corridor. Instead, wash the party walls with wall lights, add two or three floor lamps for pools of light at seating level, and put everything on dimmers so the room can change character after dark. Wall-mounted uplighters along one side will do more for the sense of width than any ceiling fitting.
Carry One Colour Scheme Through the House
The temptation in a small house is to give each room its own personality. In a long, narrow one, that chops the plan into slices and makes every slice feel smaller. Choose one palette and carry it through walls, ceilings and woodwork.
Keep the ceiling the same tone as the walls, or a shade lighter. A bright white ceiling against a coloured wall draws a hard line across the top of the room and presses it down. Paint cornice, skirting and doors in the same colour as the walls as well; the fewer contrasts there are, the fewer things the eye has to stop at.
Feature walls need care here. A strong colour on a party wall — the long wall beside you as you walk in — emphasises the narrowness. Put the deeper colour on the wall you face instead. A dark end wall reads as depth, and the same trick works at the far end of a hallway. Bedrooms, studies and bathrooms can be properly dark if that is deliberate; a small dark room feels cocooning, whereas a small room that is dark by accident just feels gloomy.
Built-in Storage That Earns Its Footprint
Freestanding furniture is the enemy of a narrow house. It leaves gaps at the sides, wastes the air above it, and collects the clutter that has nowhere else to go. Joinery is where you win the space back, so treat it as part of the architecture rather than something you buy at the end. Worth building in:
- A shallow run along one party wall, floor to ceiling, 300–350mm deep, for books, media, coats and pantry goods.
- Under-stair drawers rather than one deep cupboard you have to crouch into — three drawers hold more usable volume than a single dark void.
- A hall bench with a lift-up lid and a row of hooks above it.
- Alcoves either side of a chimney breast, taken all the way up.
- A bed with drawers beneath, or an ottoman base.
- In a converted garage, a full utility run: washing machine, dryer, boiler, coats and shoes, all behind doors.
Three rules keep built-in joinery looking intentional rather than improvised. Take it to the ceiling — a gap at the top is dust and dead space. Keep the depth consistent along a run so it reads as one piece. And line the insides properly, because you will look at them several times a day. As a depth guide: 600mm for hanging clothes, 350mm for folded, 300mm for pantry shelves, 600mm for a desk you can shut away.
Choose Furniture That Works Twice
Aim to keep 700–800mm of clear floor for walking through a room. That figure rules out most of what is sold as a family sofa, and it is worth respecting: a room you can move through feels bigger than one you have to edge around.
Good candidates for a narrow plan include a drop-leaf or gateleg dining table, or a small table on castors that tucks against the wall; a bench on the window side of a table instead of chairs, because it slides underneath; a slim console that doubles as a desk; two small armchairs rather than one large one; nesting tables; and anything on legs, so you can see floor beneath it. Round tables and round stools take corners better than square ones.
Before you buy anything, measure the room, measure the piece, then mark the footprint on the floor with masking tape and live with it for a day. It is the cheapest mistake you will ever avoid.
Use the Height You Already Have
Mews houses are usually taller than they are wide, which is an advantage most owners under-use. Hang curtain tracks at ceiling height rather than just above the window. Stack pictures vertically instead of in a horizontal row. Take shelving up the full wall. A tall, narrow mirror opposite a window does more for a tight room than a wide one hung sideways.
Where the roof pitch and structure allow, a mezzanine over a double-height space can add real floor area for a bed or a desk. Headroom, escape routes and structural work are all regulated, so check with your local authority and a structural engineer before you commit to a design — this is one place where professional advice is not optional.
Where to Start
Work in the order that mistakes cost the most to undo. Check first what needs consent: external windows, doors, rooflights and garage doors are often controlled, and mews properties frequently sit inside conservation areas, so speak to the local planning authority before you order anything. Then fix the light — rear glazing, rooflights, internal glass. Then draw the joinery and get it priced before you decorate, so you are painting up to it rather than around it. Then choose colours. Then buy furniture, tape-measure in hand. Live in the finished space for a month before making the last small decisions, and let the house tell you what it still needs.
Photo: Lucfier / Pixabay